DIY Sauna Installation Made Easy
An advantage to doing your own sauna installation is that it is an easy construction project if you buy a prefab (or modular) kit. Even larger portable units designed for four people require hardly any more skills and knowledge than following the installation instructions and using a few simple tools.
Let’s take a look at how to install portable and pre-built saunas versus pre-cut and custom units.
Pre-Built Sauna Installation
Portable and pre-built saunas are the easiest to install. Both are modular units that come in 5 major pieces (two side walls, back wall, front wall with pre-cut door, and ceiling).
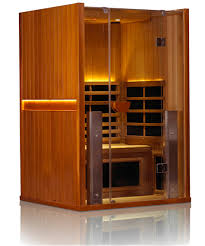
Even a 2 or 4-person sauna can be installed by one individual in an hour or two, and the installation requires only a few simple tools. Infrared portable saunas are generally smaller, come pre-assembled, and simply plug into an electrical outlet.
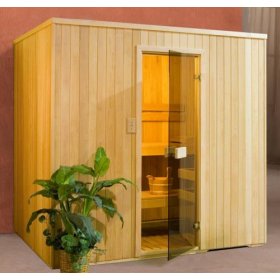
The steps to the pre-built sauna installation are as easy as this: put the back wall in place, attach the two side walls to the back wall, then add the front section which comes with the pre-hung door. Then put up the ceiling panels. Lastly, install the benches and the heater you ordered with the kit. That’s it. You’ve just installed a prefab sauna room.
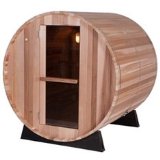
Because prefabs are easy to install, they are also portable: easy to take down and move when you sell the house. You can also find many outdoor saunas classified as pre-built which can be ordered as a kit with or without a shingle roof package.
The exterior wood is treated to withstand the weather and they can be installed anywhere there is access to electrical service.
Installing a Custom-Made Sauna Kit
Pre-cut and custom kit designs require a greater skill level and knowledge of sauna installation. This type of unit will require you to provide a frame, insulation, and wiring. Let’s take a quick look at each of these:
- The frame and flooring must be in place before the sauna kit can be installed. Not to worry - the sauna dealer can supply you with detailed drawings and instructions on what you need and how to do this phase of the project.
- The sauna insulation material can be fiberglass batting or rigid foam. Since you will want to keep the heat in, you should use a foil-faced insulating material, or if that isn’t an option install a foil face vapor barrier.
- Electrical work should be performed by a licensed electrician and the wiring should be completed before the sauna installation.
You can order a precut do-it-yourself sauna kit to install in any standard size sauna cabin, for example, 4’x 6’, 6’x 6’, 6’x 9’ and so on. The bench arrangement and heater size will also be standard.
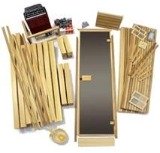
A custom-made kit can be cut to your exact measurements, and the tongue and groove panels, pre-hung door, and pre-built benches can be shipped to you for installation.
The material package itself is basically a lumber kit; the sauna heater of your choice must be ordered separately.
Saving Money on Your Installation
So why install a pre-cut sauna kit rather than a pre-built one? The main difference is cost. A pre-built sauna can be $1200 to $2500 more expensive than the exact same size in a pre-cut sauna design.
For example: a 4-seater modular unit that measures 6’ x 6’ and comes with an electric sauna heater may sell for $4800; the same unit in a pre-cut kit will cost only $3500.
With just a few tips and the proper guidance, doing your own sauna installation of any of these kits, modular saunas or portable units can save you money and you’ll be able to install the dream sauna you really want without having to settle for less.
How to Install the Sauna Ventilation System
Infrared Saunas
Sauna Heaters
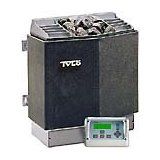
How to Install a Wood Sauna Heater
Sauna Kits
Buying Guide
